 |
| Mary gets a Spring Refit - but could also do with a wash and brushup! |
Mary has been undergoing a major refit in order to improve accommodation, comfort and accessibility. All together I hope that this refit will transform Mary into a far more user friendly live work space.
I was joined by my friend Dan Bates, a skilled carpenter, who had experience of custom carpentry for small spaces - having recently built a pentagonal wooden cabin in North Wales.
Dan came out to Hebden Bridge for eight days and we so we took advantage of the early March sunshine and got as much done as possible whilst the weather was fine.
 |
| Beautiful Cherry Blossom on a fine Spring morning. |
 |
| Chopping deck bearers in the fine spring sunshine. |
In early March, Dan and I spent 8 intensive days on board refitting some of the fixtures to improve the whole boat practicality. A major part of this was to update the galley with a row of modern kitchen units and a sensible sized stainless steel sink.
 |
| The left side of the galley was just all junk and had to go! |
First we had to remove all the old junk, including a tiny Belfast sink set into a home modified cabinet and an Electrolux caravan fridge of dubious usefulness.
 |
| The Belfast sink was so small it was really only good for rinsing mugs. |
 |
| So we started to clear the port side of it's mix of old junk |
| To give us a blank canvas for installing standard kitchen units |
| Keeping the plumbing and water pump in place |
 |
| Some hours later the four kitchen units were all in place |
 |
| So we paused for some refreshment |
 |
| Next morning we placed the long solid wood worktop |
 |
| And made the cut-out for the stainless sink |
 |
| A useful sized chopping board made from the offcut |
 |
| What a difference a Dan makes! Additional 13A sockets were added to the other side of the galley - so that every working surface had mains power. |

The sink was plumbed in and the splashback re-tiled with some mosaic tiles to cover some of the areas where original tiles had been lost.


 |
| Dan made a shelf from the sink cut-out to set the microwave at eye level |


 |
| The table was extended with a 300mm fold down flap, at a comfortable height for working |


The back of the boat was a real bodge. A previous owner had a steel channel welded right across the centre of the split door frame, and the original set factory fabricated of steel steps cut out.
This made sensible access through the stern door virtually impossible, and involved ungainly bottom shuffling across the stern deck and dangerously swinging through the upper half of the door. It was further complicated because the bed of the rear cabin was across the width of the boat, and was directly in the way of the rear door. It all had to be fixed.
 |
| New side panels and stringers made from marine ply. |
 |
| Dan measures up for the treads and risers |
 |
| Risers fitted in place |
 |
| New set of steps, treads placed - virtually complete. |
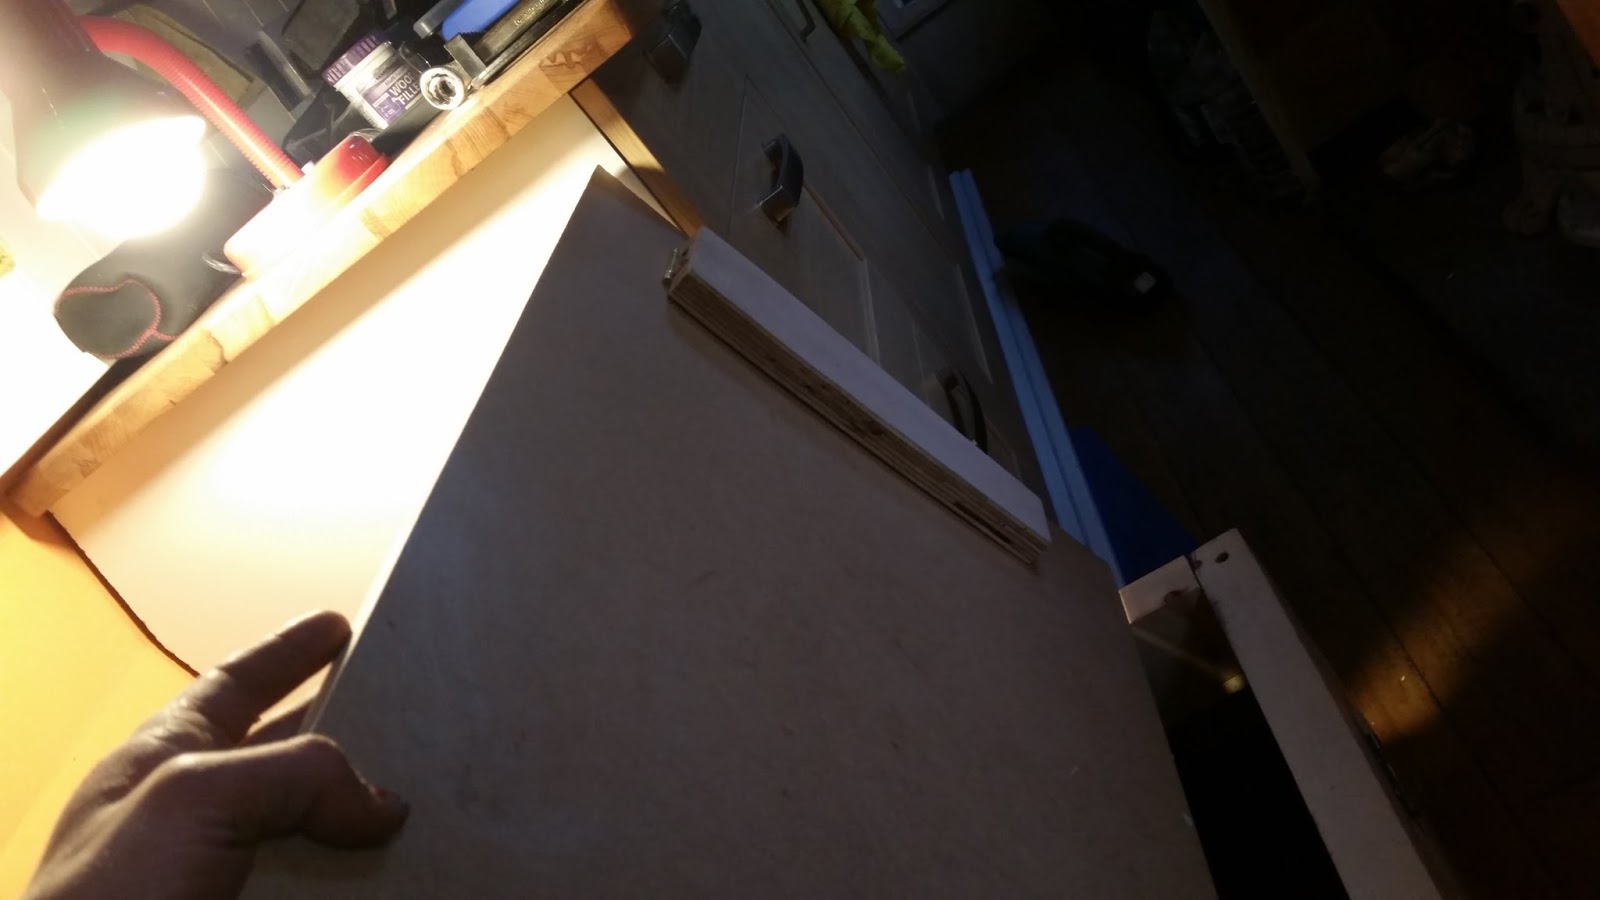
In addition to the steps, we needed to replace the boards that covered the engine compartment because they had rotted away. We used 25mm marine ply, a very durable material, made with waterproof glue. Provided it is sealed well with yacht varnish, it will last for years.
On top of the engine compartment steel frame, Dan laid a wooden framework of 75mm x 50mm exterior studding timber. This allowed greater flexibility for when it came to making access hatches for the engine and the battery compartment.
 |
| Dan checks the degree off square - whilst measuring up for the new deck boards. |
 |
| And makes a few minor adjustments to the supporting metalwork with his battery angle grinder |
 |
| Temporary deck boards were placed to stop us falling into the engine compartment and breaking a leg. |
 |
| The steel locker box was well out of square - making cutting new boards to fit a bit awkward |
 |
| Battery Skill saw makes the job of adjusting the fitting of boards much easier |
 |
| It was my job to varnish the deck boards and steps and dry them in the sun. |
 |
| Taking advantage of beautiful sunshine all day on Thursday 9th March |

Improving the Rear Cabin
With the new steps in place, and much improved and safer access to the cabin from the rear deck, it was time to tackle the omnishambles of the rear cabin. Previous owners had built the bed across the boat effectively making it very difficult to get to the rear door - a safety issue.
Working with Dan, and a bit of creative lateral thinking, we realised that we could turn the bed length ways and make use of the space underneath the adjacent bathroom sink-top counter. This allowed a 6'2" long bed to be fitted into a cabin space that was really only 5' long!
We also took the opportunity to raise the bedframes by 100mm, so that when used as a bench sofa, it gave a much better seating height. The other advantage of this is that large, plastic storage containers could now be fitted under the bed in the raised locker space.
 |
| On lifting the bed boards we found a real mess - Clusterfuck Cabin! |
 |
| Dan removes a shelf to make more legroom - effectively under the bathroom sink! |
 |
| A removable wooden bar supports the bed, or can be removed when used as a sofa. Deep storage underneath |
 |
| And raises the bed frame by 100mm - improving the seating height and making deeper under bed storage lockers |
 |
| The foam mattress cushions were covered with a fleecy throw |
 |
| And the improved legroom checked for size. |
With the rear cabin much improved, we did a similar refit to the sofa-bed unit in the living area.
 |
| The original bedframe was too low for comfortable use as a sofa. |
 |
| So Dan added some 100mm timbers on top of the old frame |
 |
| Then we cut out the old front - to make a hinged easy access panel for suitcase storage etc. |


And at the end of the 2 weeks - all we had left were a few small pieces of wood that were chopped for firewood.

Here's a list of the basic improvements - most of which we were able to get done in the Spring Refit.
Carpentry
Replacement of rear engine cover boards with marine ply
Set of removable steps for rear access
Frames to secure batteries
Raising front seating to make room underneath for gas locker and storage for plastic storage bins
Fitting of kitchen units and sink
Shelf or locker for microwave oven
Cut down wine rack cupboard and make it wall mounting
Raising the height of sofa bed for better sitting height - and to make suitcase sized pull out "drawers" underneath
Convert table to folding operation
Gas, Heating & Plumbing
Fix the bath drain pump - Whale Gulper 220
Fabricate new gas bottle locker to latest safety specs
Refill the main water tank
Replace gas bottle if necessary
Test the water heater
Hot air circulation pipes to rear of boat and ceiling to floor circulation
Electrical
More 13A double switched sockets in the galley area
Better LED lighting - Neopixel strips
Electrical wiring into conduit
DC fuseboard
Replacement starter solenoid.
More accessible battery isolator switches - for starter and 12V dc
Tidy up and secure battery wiring with cable ties.
Battery hold-down frames and ratchet straps
Better access to fuel isolator stop cock
General Improvements
Pram cover for stern - about £1700 from The Cover Co.
Looking Forwards - Phase 2
Hot water storage with solar thermal and engine heat recovery.
2kW pv array
Power shower and improved water flow.
New starboard galley units to match port side
New dining table in solid beech